Push For Electrification
No matter your political stance on climate change, so for a second, let’s put that aside: there’s a major push for electrification on a global scale.
Simply, the term electrification is the removal of appliances, vehicles, and HVAC equipment that contribute to our carbon footprint.
For example, removing a natural gas-fired furnace and replacing it with a heat pump or replacing a gasoline-fueled vehicle with an electric one.
There are concerns that a quick and rapid push for electrification may not be wise, as the current electrical supply grids may have difficulty keeping up with the charging of EVs and running heat pumps as the primary heat source.
The argument for a slow and observant approach to electrification is a good one, as with any new concept, there are learning curves, and we don’t want to be left out in the cold, pun intended!
I am going to tackle this article from an HVAC technician and HVAC business owner’s perspective to discuss some factors that should be considered before installing a heat pump and also during the installation process itself.
On-Site Assessment
The first step in this process is not to quote the job or pick equipment.
It’s to understand if any grants are in place locally to help the customer save money.
We’ll also need to understand the process of how and when the grant money is allocated.
Some customers will have already done their homework and be well-versed in the grant procedure if one exists in your area.
An initial on-site assessment will be required to understand your customer’s needs.
Inspecting the existing equipment and recording all info is recommended as it will help us get an idea or baseline of equipment size, but don’t use the existing equipment to size the current job; this is extremely important.
Control
Take note of the thermostat and how many conductors are within the thermostat cable.
Ensure the thermostat can control a heat pump and auxiliary or emergency heat.
Also, ensure there are enough conductors to control the new system.
We may need to suggest a new thermostat if the current one cannot control a heat pump, and also it’s possible we will need to run additional control wires from the thermostat’s location to the indoor and/or outdoor unit.
Air Distribution
Check the current system TESP (total external static pressure).
Checking this will give you an indication of any duct restrictions on the supply or return side.
Knowing this will allow the contractor to correct any duct design issues before the new installation.
If the TESP is high, there are a few things that could cause this, such as an undersized duct, blocked or closed supply or return grills, existing equipment being oversized, or the air filter being too restrictive.
I always recommend 4” or 5” filters, which offer more filtration surface area and less system pressure drop.
Electrical
Inspect the electrical panel and ensure there is space for any upgrades that may be required.
We will discuss this later, but some heat pump installs use resistive electric heat as auxiliary or emergency heat.
If so, there is a chance the panel in the home will need an upgrade of some sort.
The customer may want to bring in their own electrician, or they may ask you to bring in yours.
Either way, you’ll want to have all the info and be in clear and constant communication with the electrician during any electrical upgrade or installation.
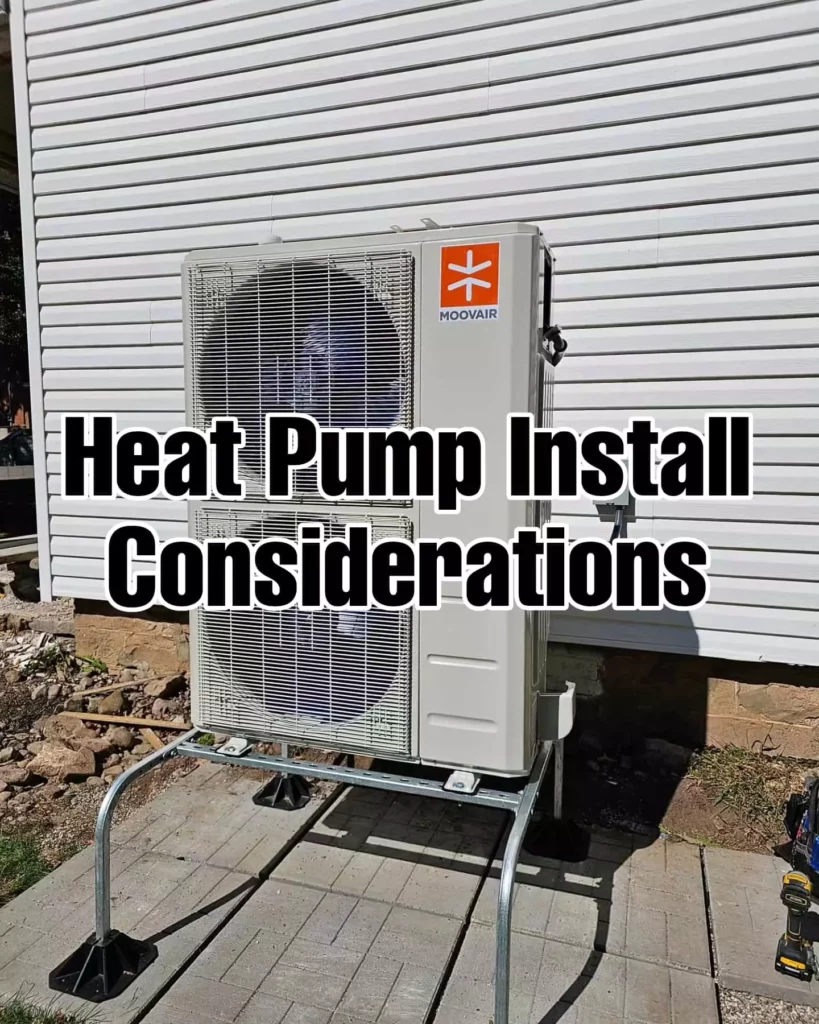
Outdoor Unit Location

Where will the outdoor unit be mounted?
A useful advantage of some heat pump outdoor units is that they are of slim design, similar to ductless outdoor units; this can help with some installations.
You can mount them on a stand or wall bracket. It really depends on a few things.
I wouldn’t recommend using a wall mount on buildings where the bracket must lag to structural studs; this can cause vibration issues that the occupants may not enjoy; in this case, it’s best to use a stand.
If you’re in a cold climate and snow is a factor, ensure to keep the outdoor unit high enough where accumulating snow will not affect performance.
Load Calculation
One last task on the initial assessment is to record any info needed for a block load calculation.
A perimeter measurement, number of windows and doors, sizes, type, and age.
Height of home (to calculate stack effect), age of home, amount of exposed basement wall to the outside and if known, insulation value, etc.
Please speak to a local HVAC designer, and they will be able to help.
✅ Note: Depending on time and budget, a full room-to-room load calculation can be performed. If the project is new construction, the designer should be able to work off a set of drawings.
Post Assessment
After the assessment, a designer should perform a load calculation, or in-house, if you have a program that allows this.
A blower door test can be utilized to capture proper infiltration rates.
If a blower door test is not done, the designer will make an educated guess based on the information you have submitted to them on the home’s infiltration rate.
If there are major duct work concerns after your assessment, you can also utilize the help of a designer to rectify these issues at a design level.
Once the heat loss and heat gain have been determined, equipment can be selected appropriately for the application.
There are many options out there and many brands.
Inverter technology has enabled heat pumps to become very efficient, and cold weather heat pumps have changed the game for cold weather climates with systems that can heat down from -4 to -22F (-20 to -30C).
Inverter systems also have the advantage of performing over a wide capacity range.
In cold weather climates or places that can experience cold snaps, auxiliary heat should be implemented.
Auxiliary heat can be added using in-duct electric resistive heat or a dual fuel setup that can include a natural gas or propane furnace.
In this scenario, the heat pump would be the primary heat source, and the auxiliary heat source would be utilized in extreme weather conditions or when the heat pump cannot provide sufficient heat to the space.
A proper control setup is key to preventing any interruptions in comfort.
Some systems will require a proprietary control system, and some will allow you to select your own 24-volt thermostat.
Important Sizing Consideration
I want to jam this note in here as it is super important.
If a home has a heat loss of 60k BTU and a heat gain of 24 BTU, how do we size?
Let’s keep in mind that a heat pump will need 400 cfm to 450 cfm per ton to run effectively.
If we size the heat pump to the heating load, we need 2000 cfm to 2250 cfm.
In most retrofit applications, as it pertains to this example, we’ll find ductwork that is only designed to carry 800 to 1200 cfm.
The solution here is to size closer to the cooling load but as close to the heating load as possible.
For example, if the ductwork allows, select a 3-ton heat pump and add in auxiliary heat to supplement the heat pump with restive heat or, in the case of dual fuel, a complete backup source of heat that will switch over as the heat pump capacity falls off.
Installation
As with any system, please read the installation manual prior to installation.
A centralized heat pump install is quite similar to a central air conditioning install.
Follow proper piping practices: ream, deburr, and clean pipe, braze with nitrogen, and ensure flares are made at 45 degrees and torqued to spec.
Utilizing pipe benders and swaging tools can cut down on fittings and connection points.
An industry trend, at the moment, is moving over to press connections.
Press connections also require pipe prep to leverage the technology fully.
No matter how you choose to fit the refrigerant pipe, ensure it is insulated as per the manufacturer’s instructions.
Ensure ductwork is sealed and insulated if or when needed.
Drain lines should be sloped, trapped, and vented properly.
If utilizing a condensate pump, ensure the pump is mounted as close to the system as possible and take care to install pump outlet piping to its termination point, making sure it’s not kinked.
A system pressure test should be performed, and pressure held to ensure the system is leak-free.
Evacuation of system components below 500 microns is essential, and an argument can be made that even pulling down lower will help with system longevity.
It is also essential that the evacuation holds when isolating the system from the pump to ensure there is no substantial rise in pressure.
Whether installing dual fuel or resistive heat, it must be adequately controlled from the thermostat.
In most cases, electric heat is installed downstream of the indoor coil.
This allows the heat pump to run simultaneously with electric heat.
Most dual fuel installs will have the furnace installed upstream of the heat pump indoor coil.
On the control side, we must shut down our heat pump before starting the gas appliance.
This is where thermostat selection and setup is key.
Wifi thermostats offer local weather data, which helps with setup, removing the need for additional sensors or relays to switch over and to turn on/off parts of the system at certain ambient temperatures.
Surge Protection And Voltage Monitoring
I want to stress the importance of voltage monitoring and surge protection, especially inverter systems that run off solid-state devices.
Changes in voltage, like brownouts or utility overvoltage can damage equipment.
Proximity lightning strikes or unnatural surges can also cause damage to sensitive circuitry. Please speak to your customer about this; it’s an option for them to install whole home devices, which usually would be performed by an electrician.
Or you could offer local devices that will protect the equipment only.
Commissioning and Start-up
Each heat pump system must be commissioned properly, and commissioning starts early in the installation process.
Each step of the installation should be commissioned as we go.
Each step along the way should be checked and rechecked.
For example, when wiring a thermostat, pull at each wire to ensure it is securely positioned or take time to ensure all pipe insulation is sealed at each seam.
These commissioning steps will ensure equipment start-up goes well and performance moving forward will have less chance of failure.
Some heat pumps require the primary power source to be turned on for 12 to 24 hours before start-up.
This is more of a requirement in cold climates, and the reason for this is to energize the crankcase heater to boil off any liquid refrigerant that is sitting in the compressor.
It will also help keep oil warm and less viscous for the initial start-up.
Before applying power, check with a meter and make sure it is correct.
After applying power, test the control voltage to ensure it is present and correct, and set up the thermostat as it applies to the application.
The thermostat manual should be able to guide you through this.
Before running the system in heating or cooling, set up airflow, test fan operation, and check total external static pressure to ensure it is within nameplate specification.
Before starting the system, use charging charts found in the manual, if applicable, and calculate any additional refrigerant charge needed.
Test all control functions from the thermostat, fan, heat, cool, auxiliary heat/emergency heat.
Within each system test, record readings such delta t across indoor coil, refrigerant pressures, and temperatures, and compressor amp draw.
Test the defrost cycle in heating mode and make any setting changes needed for best performance.
Many cold weather heat pump outdoor units are outfitted with a base pan heater.
This allows any accumulating ice to melt and drip away. Test the heater for functionality.
Learn More with HVAC Know It All
Elevate your HVAC expertise and outshine your peers by delving into our informative blog articles, listening to our industry-specific podcast, and subscribe to our YouTube channel, where we share valuable insights tailored specifically for HVAC technicians seeking to enhance their business and provide exceptional service.