This short podcast also covers this burner repair in detail

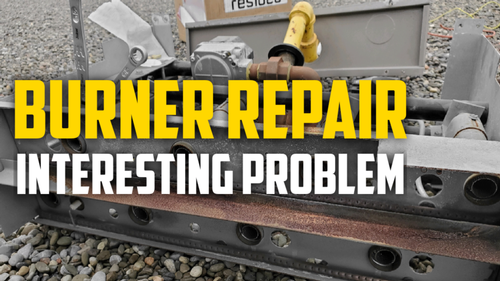
The Problem
This heating tip was generated from some on site aggravation while repairing a burner. During the initial preventative maintenance, it was discovered that the 1st stage burner of the York RTU was having intermittent problems sensing flame and engaging main fire. The RTU utilizes direct spark ignition, the spark is generated, the pilot valve within the gas valve opens and gas flows across a pilot tube. The flame sensor is mounted at the opposite end of the tube, as the pilot flame moves across the tube and comes into contact with the flame sensor, flame rectification take place proving the flame. At this point, the ignition control sends a signal to the gas valve which engages main fire. This is how it’s supposed to work in theory, but not always the case. My experience with these burners speak to me in this particular situation, I have seen this issue many times before.
To learn more about flame rectification check out this article.
The pilot tube can become blocked and corroded which can really restrict proper gas distribution, if the flame sensor can’t sense flame, the main burner will never fire. A defective pilot tube can and will cause burner issues. The RTU is responsible for heating the north east corner of a critical environment, (pharma warehouse) the warehouse is outfitted with sensors and the products stored in the facility can be put into jeopardy from temperature swings.

The Repair
The burner was removed along with the pilot tube, flame sensor, spark ignitor, roll out switch and the ignition module which were all replaced. I would personally never pull the burner and replace the pilot tube without replacing the flame sensor and ignitor. I have preached this in the past, anytime I perform a heating repair, I always replace the roll out switch. A roll out switch can be internally faulty, but when checked with a meter, looks be to fine on the surface. I have come across many situations like this where the burner wouldn’t fire, the roll out which appears to be okay, is bypassed with a jumper and the burner fires. I also replaced the ignition control as an inexpensive insurance to maximize a problem free heating season due to the critical nature of the environment. The cost of a failure can be great, quarantined products, quality assurance investigation and many emails back and forth along with physical paperwork.
After the repair and upon testing, a spark was not being generated, the problem was traced back to the new spark ignitor, which had separated inside the heat shrink. A second new ignitor was then installed, although a problem still existed. A weaker than normal spark could be heard coming from the ignitor, I pulled the ignitor assembly from the burner bracket and performed a test. If you take the ignitor assembly and hold it with an insulated set of pliers and hold the rod close to a ground source, you can watch it spark. The test was performed and the spark was strong, the next test revealed the problem. I tilted the assembly slightly, moving the corner towards ground, a small weak spark was visibly noticed. This should not happen as the ignition rod is fully insulated in a ceramic case. Due to this leak, when the ignitor assembly was mounted, the spark dissipated and was not concentrated and strong enough to light the pilot. As a test, I used electrical tape and wrapped the ignitor bracket (insulated it), it was re-installed and instantly upon testing the spark was stronger audibly speaking and the pilot and main burner fired on every attempt.
You can watch the entire repair in this video